

![]()
![]()
Sync Setup
This procedure outlines the steps to set up Procore and RoundhousePM to sync users, RFI’s and Submittals between both platforms. Click step number to view detailed instructions.

PROCORE SETUP
Create developer account
This allows you to use the sandbox for testing.
Create developer account
1.1 Sign Up For Developer Account
The first step is to create a Procore developer account. This allows you to use the sandbox for testing. This step will not be required for customers but only for beta testers who do not have Procore accounts.
- To se up a Procore Developer account, go to https://developers.procore.com/signup, select Sign Up and follow the on-screen instructions.
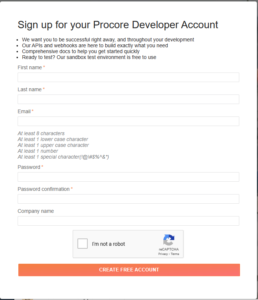
- Once completed, you will receive an on-screen confirmation along with an email:
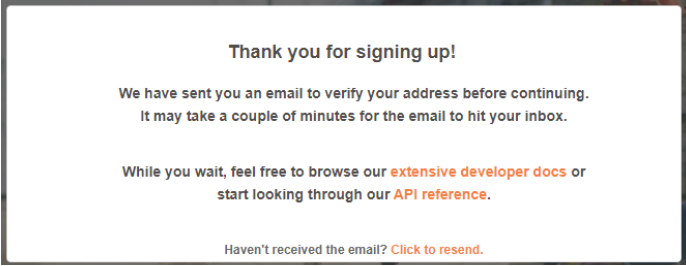
1.2 Verify Email
- Once you complete the account sign up form, verify your email:
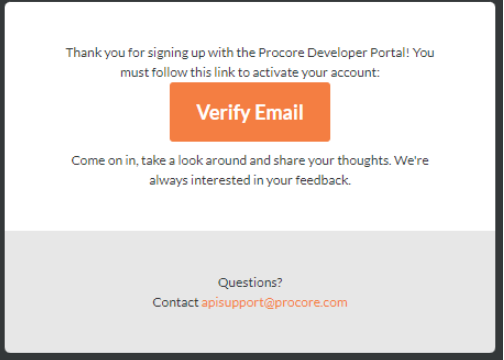
- After you click the Verify Email button, you will be asked to accept the terms and conditions:

Proceed To Step 02
Create new app
This step creates your sandbox project.
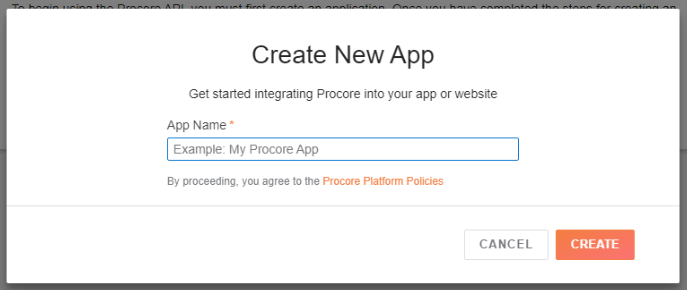
Create New App
The subsequent screen is for developers, but even though you will not be using your own app, you need to click the Create A New App button to get a sandbox project created.

Enter anything here, but again, you will not be using it. Note: The name you give your “app” will be used as the sample company name for your sandbox project so if you want to have a meaningful company name for testing, add it here.
On the following screen you will see this at the top below the menu.
You are now done with the developer account setup. The rest of your interactions with Procore will be in the sandbox project. You will receive an email notification once the sandbox has been created.
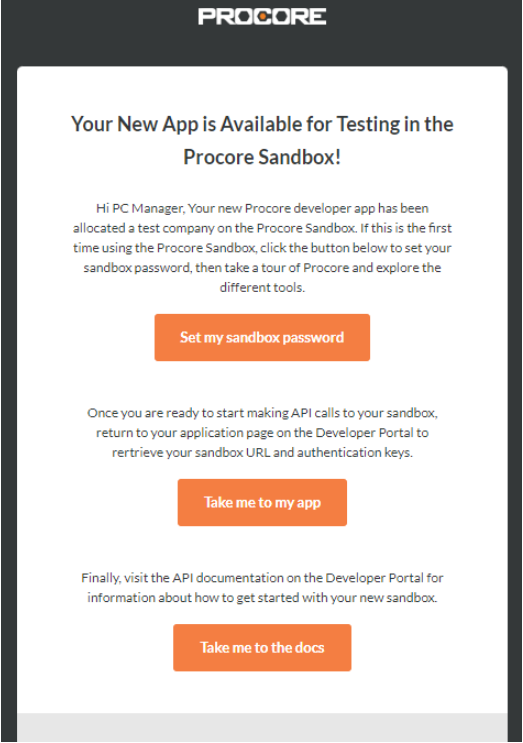
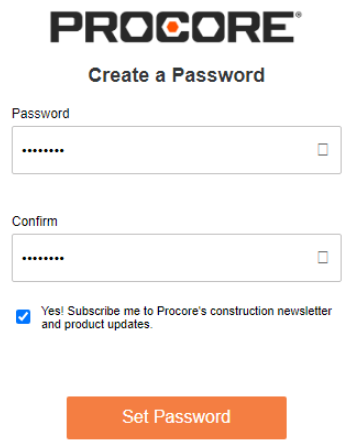
Click the “Set my sandbox password” button and complete the form. You will use the email you used to create your developer account and the password set here to access your sandbox project.
Install Roundhouse custom app
For testing purposes, this is the App Version Key you will use: 304db77e-cb7b-475d-a390-0839071ea9b7.
Install RoundhousePM Custom App
In order to give RH access to a PC project, the app must be installed at the company level but the company admin can allow it for multiple projects. https://support.procore.com/products/online/user-guide/company-level/admin/tutorials/install-a-custom-app
- Navigate to the Company level Admin tool.
- Under ‘Company Settings’, click App Management.
- Click Install App and choose Install Custom App

- Enter the 36-character ‘App Version ID’ provided to you by the custom App developer.
For testing purposes, this is the App Version Key you will use when installing the custom RH app: 304db77e-cb7b-475d-a390-0839071ea9b7

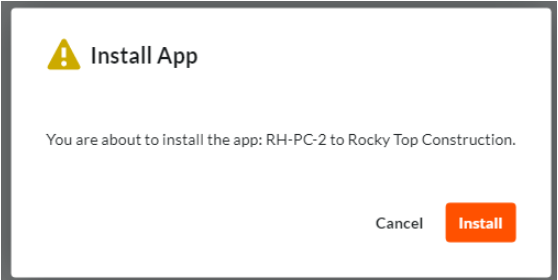
- Click Install.
- Click Install again to confirm the installation.
- If you want to create an App configuration now for this App and apply it to one or more projects, or configure it globally, continue with the steps outlined below. Otherwise, click Skip.
- Use the Projects dropdown to select the projects you want to apply the App configuration to. You can choose Select All if you want to apply the configuration to all projects in the company.
- Note: If you want to configure the App globally with the same configuration settings across all projects in your company, click Add to Active and Future Projects.
- Enter a Title for the new App configuration.
- Enter values for any required or optional ‘Configurable Fields’.
- Click Create
- Use the Projects dropdown to select the projects you want to apply the App configuration to. You can choose Select All if you want to apply the configuration to all projects in the company.
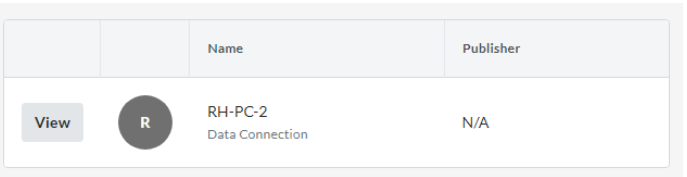
Once you have stepped through the install, you will see this screen. You can then proceed to the next step
Create Project Permissions Template
Use “Roundhouse” in title; include documents, RFIs and Submittals.
Create Project Permissions Template
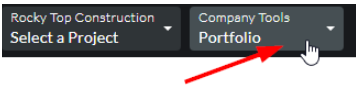
To create the needed template go to the company tools by clicking the home icon ![]() .
.
You will know you are in company tools vs project tools by the url containing “/company/home/” and by the menu items showing “company tools” dropdown list.
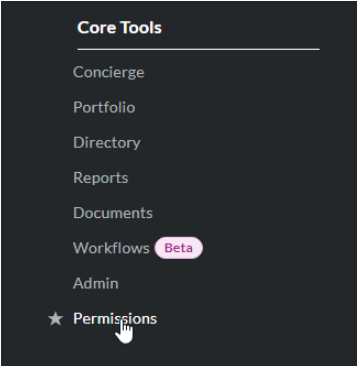
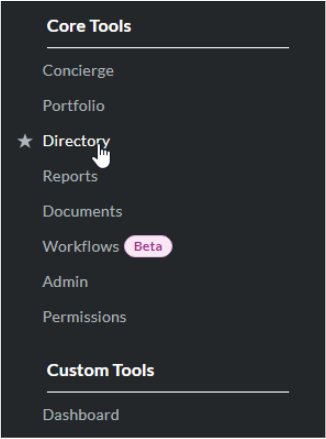
Choose “Permissions” from the Core Tools menu:
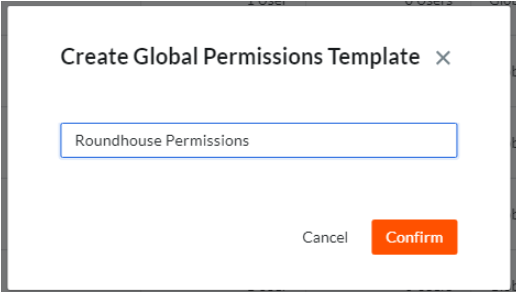
Select Project Permissions Template > Create Project Permissions Template > Project (Global)

Give the template a name but be sure “roundhouse” is part of the title.
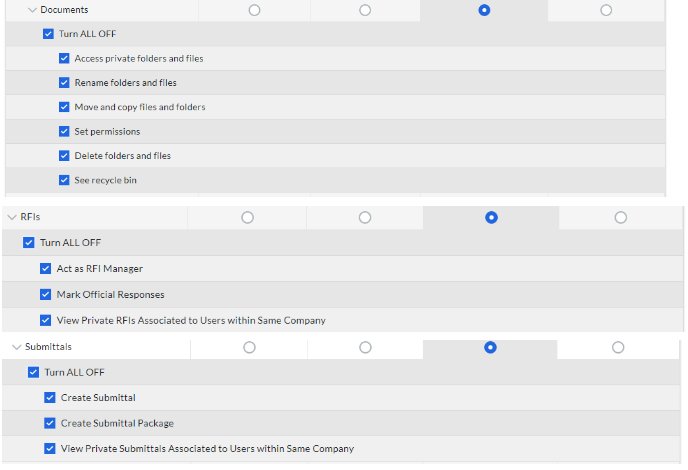
This template should be given Standard access for Documents, RFIs and Submittals
What are permissions templates?
In Procore, a permissions template is a set of permissions that can be assigned to one or more Procore users. The settings in a permissions template define what actions users can perform and what information they can view in each Procore tool.
There are two types of permissions templates: company permissions templates and project permissions templates. Company permissions templates are configured for Company level tools. Project permissions templates are configured for Project level tools. Both types can be created and edited in the company’s Permissions tool to fit various roles and teams in your company. See Manage Project Permissions Templates and Manage Company Permissions Templates.
There are also two types of project permissions templates: global permission templates and project specific permission templates. A global permissions template can be assigned to users in any project in your company’s Procore account. A project specific permissions template can only be assigned to users in the template’s specified project. Both types can be created and edited in the company’s Permissions tool to fit various roles and teams in your company’s projects. Project specific permissions templates can also be created in the Project level Directory tool, but can only be edited in the company’s Permissions tool.
Each company account in Procore is given a different set of default project permissions templates depending on the company’s client type. See What are the default project permissions templates in Procore?
Create “sync admin” user
Give Internal PM role to this user or some API calls will not work.
Create “SyncAdmin” User
A user must be created in procore that has project admin rights. This user will also be added to RoundhousePM as a Workspace admin and will link the RH Workspace with the PC Project.
From the Company tools, choose Directory:
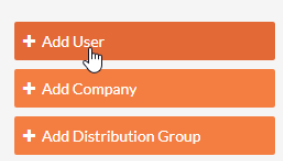
Select Add User from the menu on the right hand column:
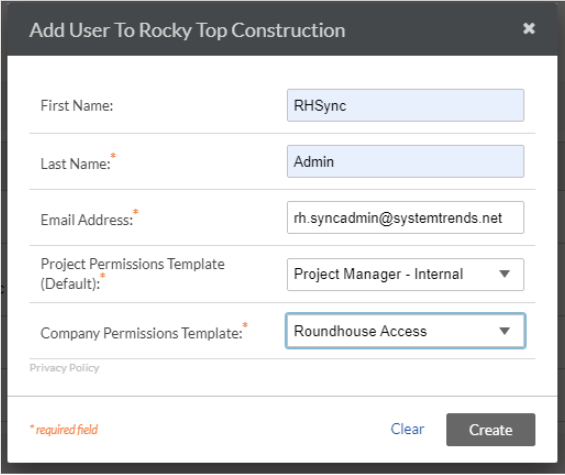
Fill out the form and give the SyncAdmin user Project Manager template and the company permissions template you created in previous steps.
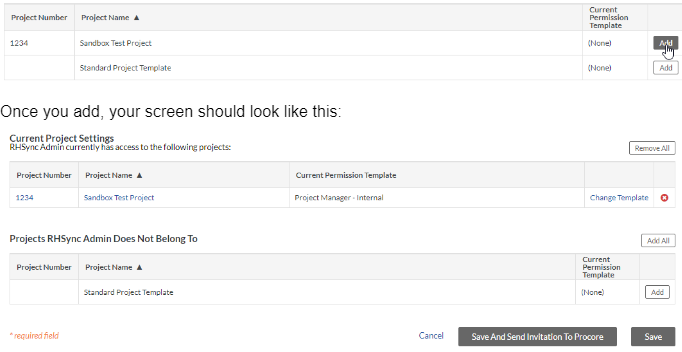
After clicking create, you will be taken to Edit screen. Scroll down to the Current Project Settings section to add this user to your test project:
Save the edit screen.
You have now completed the setup for Procore.
ROUNDHOUSE SETUP
Create new pyramid
This step needs to be done by RH staff.
Step 1 Lorem ipsum dolor sit amet, consectetur adipiscing elit. Ut elit tellus, luctus nec ullamcorper mattis, pulvinar dapibus leo.
Rename workspace
Pyramids can contain pre-named workspaces.
Step 2 Lorem ipsum dolor sit amet, consectetur adipiscing elit. Ut elit tellus, luctus nec ullamcorper mattis, pulvinar dapibus leo.
Add Procore app credentials
This interim step is performed by RH staff and is currently applied to each pyramid.
Step 3 Lorem ipsum dolor sit amet, consectetur adipiscing elit. Ut elit tellus, luctus nec ullamcorper mattis, pulvinar dapibus leo.
Add “sync admin” user to workspace
This user must have pm role. Enable sync and link PC company and project here.
Step 4 Lorem ipsum dolor sit amet, consectetur adipiscing elit. Ut elit tellus, luctus nec ullamcorper mattis, pulvinar dapibus leo.
Perform initial manual sync
This will populate RH workspace with data from Procore.
Step 5 Lorem ipsum dolor sit amet, consectetur adipiscing elit. Ut elit tellus, luctus nec ullamcorper mattis, pulvinar dapibus leo.